6. Empathy & Interview P2
In this recap, I'll provide a detailed breakdown of each step in the user interview process.

Summary
In my previous lesson recap, I mention about the step of a user interview process. In this recap, I'll break down each step in detail and share insights I gained from Mr. Chung's interview with our guest speaker.
Before the interview
1. Prepare
1.1. Interview Preparation
Define a clear goal for the interview
Identify what you want to achieve through the interview. Your project goals will determine the scope of your user research. Establishing clear goals at the outset will help you focus your research and avoid collecting unnecessary data.
Goals that are too broad can result in interviews that fail to produce useful or actionable insights.
💡 A concise, concrete set of goals that relate to your target users’ specific behaviors or attitudes can help you gather helpful and actionable insights. - Maria Rosala and Kara Pernice, User Interviews 101, Nielsen Norman Group.
💡 What do you want to learn? How do you plan to learn that?
According to Maria and Kara, some examples of reasonable research goals include:
What causes customers to consider and try a product?
What are the highs and lows of their experience?
How much knowledge of the process do users have?
What makes users abandon the product?
Prepare an interview guide
An interview guide is used to direct the conversation and help you answer your research goals. An interview guide should contain a few well-designed, open-ended questions that get participants talking and sharing their experiences.
An interview will also contain follow up questions to gather more-detailed information. When constructing the guide, these questions are often nested underneath the main questions.
💡 Step on building an Effective Guide for a UX Interview
In this article from Maria Rosala, Writing an Effective Guide for a UX Interview, we'll learn how to prepare a user interview guide that ensures key topics related to your research questions are covered, while gathering in-depth insights into people’s lives and needs.
Step 1: Write Your Research Questions
the research questions are clear and obvious. However, sometimes they’re not. If you're unsure what to ask, start by identifying what you want to learn from users. You might use the 5W1H question method to help you shape your interview:
What are users' expectations in this situation?
How do users make decisions here?
How have users solved this problem before?
What aspects of the product matter most to users, and why?
Step 2: Brainstorm Interview Questions
Note down all interview questions that come to mind using mind maps, digital whiteboards, or a simple list, etc. It doesn’t matter whether they are good or poor - you’ll deal with that later.
Step 3: Broaden Your Questions
Review your list of questions and ask yourself, for each interview question, is there a broader, more open-ended version of that question that you can ask instead?
Example questions, that prompt the user to recall a certain event and are similar to those used in the critical-incident method, are excellent for gathering stories and unanticipated statements.
💡 The critical incident technique (CIT) is a research method in which the research participant is asked to recall and describe a time when a behavior, action, or occurrence impacted (either positively or negatively) a specified outcome (for example, the accomplishment of a given task).
A table of example question list followed the CIT method from Maria Rosala, The Critical Incident Technique in UX:

💡 Mr. Chung's advice is to guide the interview by recalling events in sequence, helping the interviewee remember details in that certain event.
Step 4: Fill In for Unaccounted Research Questions
Ensure each interview question aligns with your research goals. If any research questions aren't covered, create additional interview questions to fill the gaps.
💡You can include your research questions in the interview guide to keep your research goals top of mind.
Step 5: Arrange Your Questions
To make the conversation flow in a logical order and seem natural think about the best order for your questions. For example, if you’re talking about an experience people have had, it makes sense to move in a chronological order.
Consider starting with open-ended, easy-to-answer warm-up questions to build rapport at the beginning of the interview.
Step 6: Prepare Additional Probing and Follow up Questions
After organizing your questions, prepare some follow-up questions to gather more detail and clarification, such as, “Where were you when this happened?”, “When did that happen?”, “Tell me why you did that?”, and so on.
Probing questions can be included to help you delve deeper, like “Tell me more about that”, “Tell me why you felt that way”, “Why is that important to you?”
Step 7: Pilot Your Guide
Piloting your guide helps you identify:
Questions you need to add
Questions that need rewording
If the question order flows well
If you have enough time for all questions
Recruit a pilot participant and allow time to adjust your guide. While it’s fine to update your guide during interviews, piloting helps resolve major issues before you start your research.
1.2. Recruiting Participants
Decide who to recruit for your research
Ensure to recruit a representative sample of users for the interviews, so you should start with your user personas and try to find interview participants that match them.
Targeting should typically be defined by using a mixture of the following criteria:
Psychographics: Activities, hobbies, interests, and opinions
Demographics: Age, gender, education, income, marital status, etc.
Geographics: Country, city, region, or radius around an area
To refine your participant selection, consider adding behavioral criteria such as daily activities or job-related factors. For example, specify the job industry, role level, and years of experience to detail your criteria further.
Determine how many participants you need
The right number of participants will depend on the type of research you’re doing and the specific methods you plan to use.
According to Jakob Nielsen, Why You Only Need to Test with 5 Users, he stated that the best results come from testing no more than 5 users and running as many small tests as you can afford.
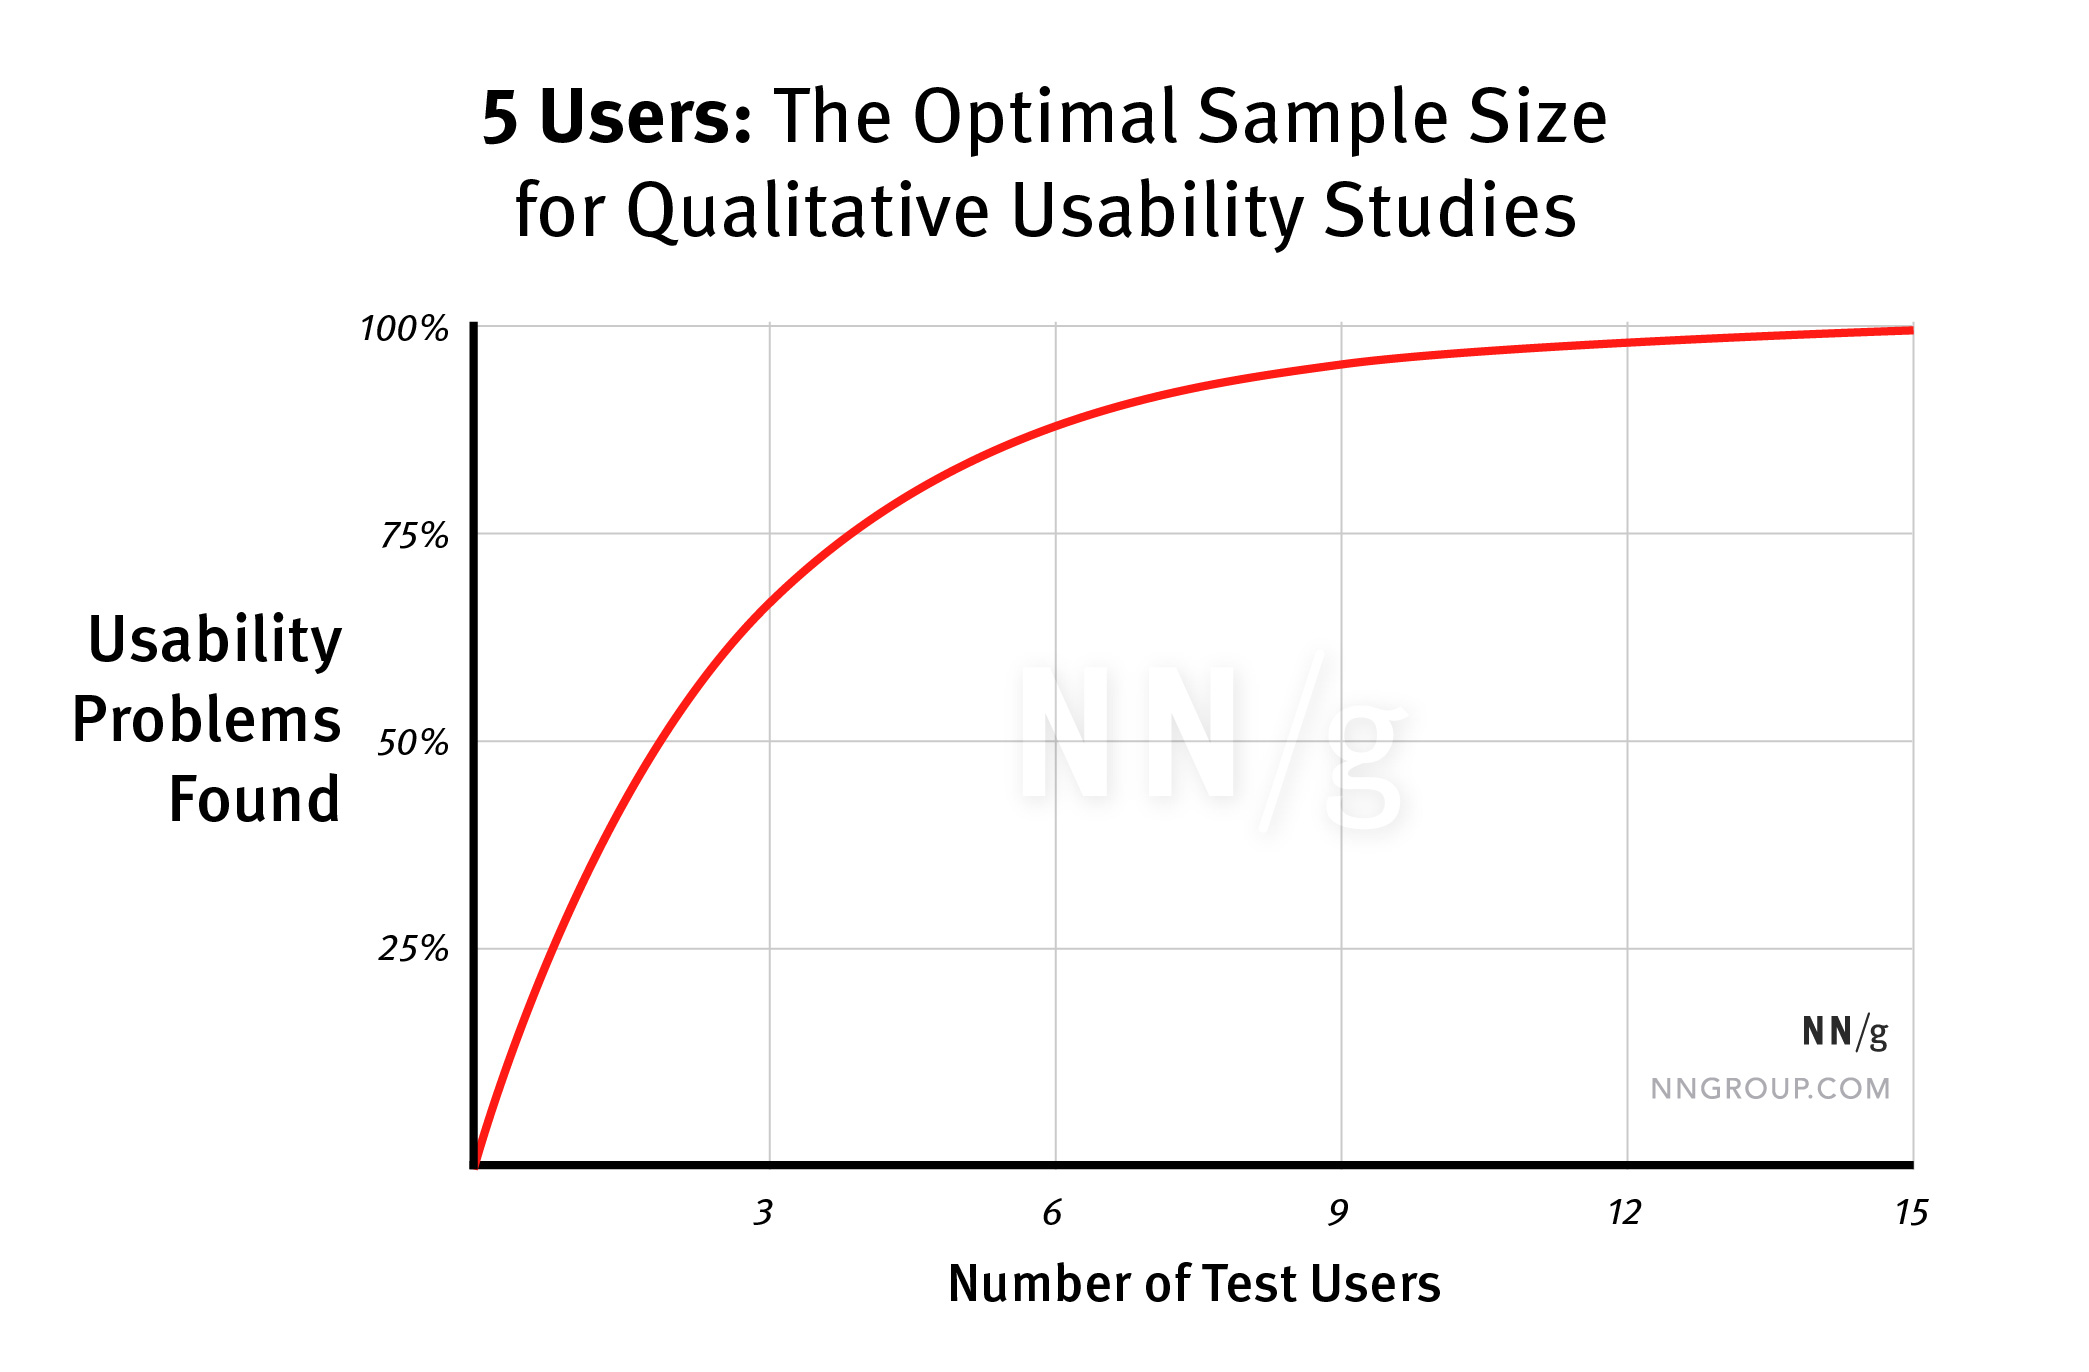
💡 "Study participants reported an average no-show rate of 11%, which translates into one in nine users failing to show up as promised." - Jakob Nielsen, Recruiting Test Participants for Usability Studies
Uncontrollable factors like weather, traffic, or personal events can cause no-show rates to vary widely between studies. So, when conducting a simple test with five users, you may experience one or two no-shows.
Therefore, a recommended sample size for UX interview research is 3-10 participants.
Filter your candidates
While demographic questions like age, gender, and location are common and useful in screener surveys, they shouldn't be your primary focus. Include a few demographic questions at the beginning or end, but first determine which, if any, truly define your target audience.
💡 Prioritize behaviors over demographics.
Start with questions that quickly filter out unqualified participants. Rank your questions by importance and check for dependencies.
💡 Eliminate unqualified people early
Schedule participants for a mutually convenient time
Create an interview schedule based on your availability and let participants choose from the offered time slots.
💡 Respect your own time by limiting the number of sessions you conduct each day and give yourself at least 15 minutes between interview sessions.
To help your participants remember the interview and get to the right place at the right time, be sure to include 3 key pieces of information:
Time and date
Location
Research topic
1.3. Preparing the Interview Environment & Tools
Ensure the setting is comfortable, quiet, and free from distractions to help the interviewee feel at ease. For remote interviews, ensure a stable internet connection, clear audio/video, and have a backup plan for technical issues.
Before your interviews, prepare all materials and equipment, including your script, consent forms, incentives, and recording tools. Test your equipment and have spares ready. Proper preparation prevents delays and ensures a smooth experience for participants
💡 Prepare recording and transcription tools to effectively track the interview and gain deeper insights.
Why do you need a user interview tool?
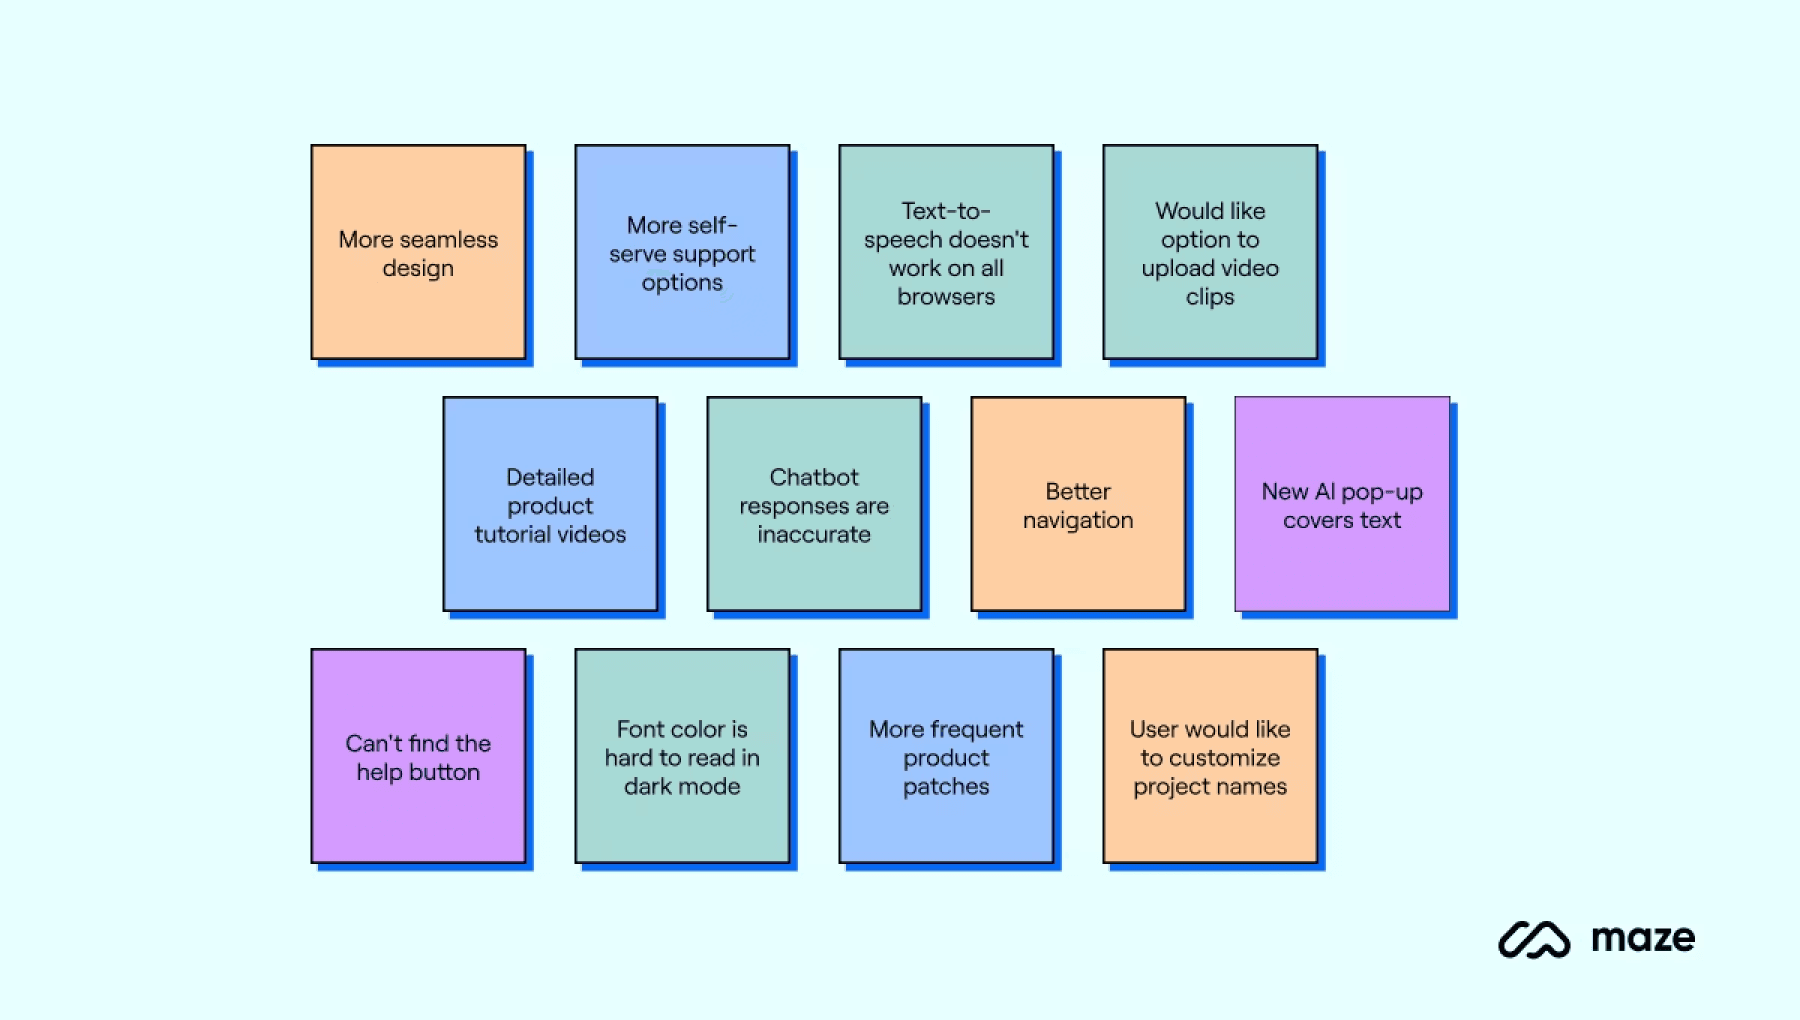
According to Maze on their article of 7 User interview tools to simplify UX research and elevate your interviews:
💡 One thing's for sure - a user interview tool makes user interviews a whole lot easier, especially when done at scale.
Effective user interview tools can enhance your process by handling tasks such as organizing participants, automating admin work, recording interviews, generating transcripts, and analyzing data. Benefits include:
Reducing interviewer bias
Enabling remote participation
Capturing and annotating multimedia
Providing a shared understanding of user needs
How to select the right tool for user interviews
Evaluate your needs and the cost of tools. Consider these optional tools:
Participant Management: Helps find and filter participants and build a database for targeted research.
Recording and Transcription: Captures and transcribes user responses for effective review.
Insight Reporting: Offers customization and data visualization to create compelling reports for stakeholder engagement.
During the interview
2. Interview
At the start of your interview, to make sure you capture everything important
🔴 Always remember to hit record for your supporting tools
2.1. Warm up & Breaking the ice
Start Easy
Begin the interview by introducing yourself and providing a brief overview of the conversation’s purpose and your role in the project. Start with some light questions to get to know the participant before diving into the main topics.
💡 Start with questions that are easy to answer
Build Rapport
Build rapport by showing you’re listening and by asking related questions. You can show you’re listening by using verbal and nonverbal cues.
Verbal cues include:
Neutral acknowledging like, "I understand", "okay, I see"
Making noises like "mmmh"
Echoing what the participant has said
Adjusting the speed, volume, and intonation of your questions
Nonverbal cues include:
Frequent eye contact
Nodding
Raising eyebrows occasionally
Smiling when the participant smiles (also known as mirroring)
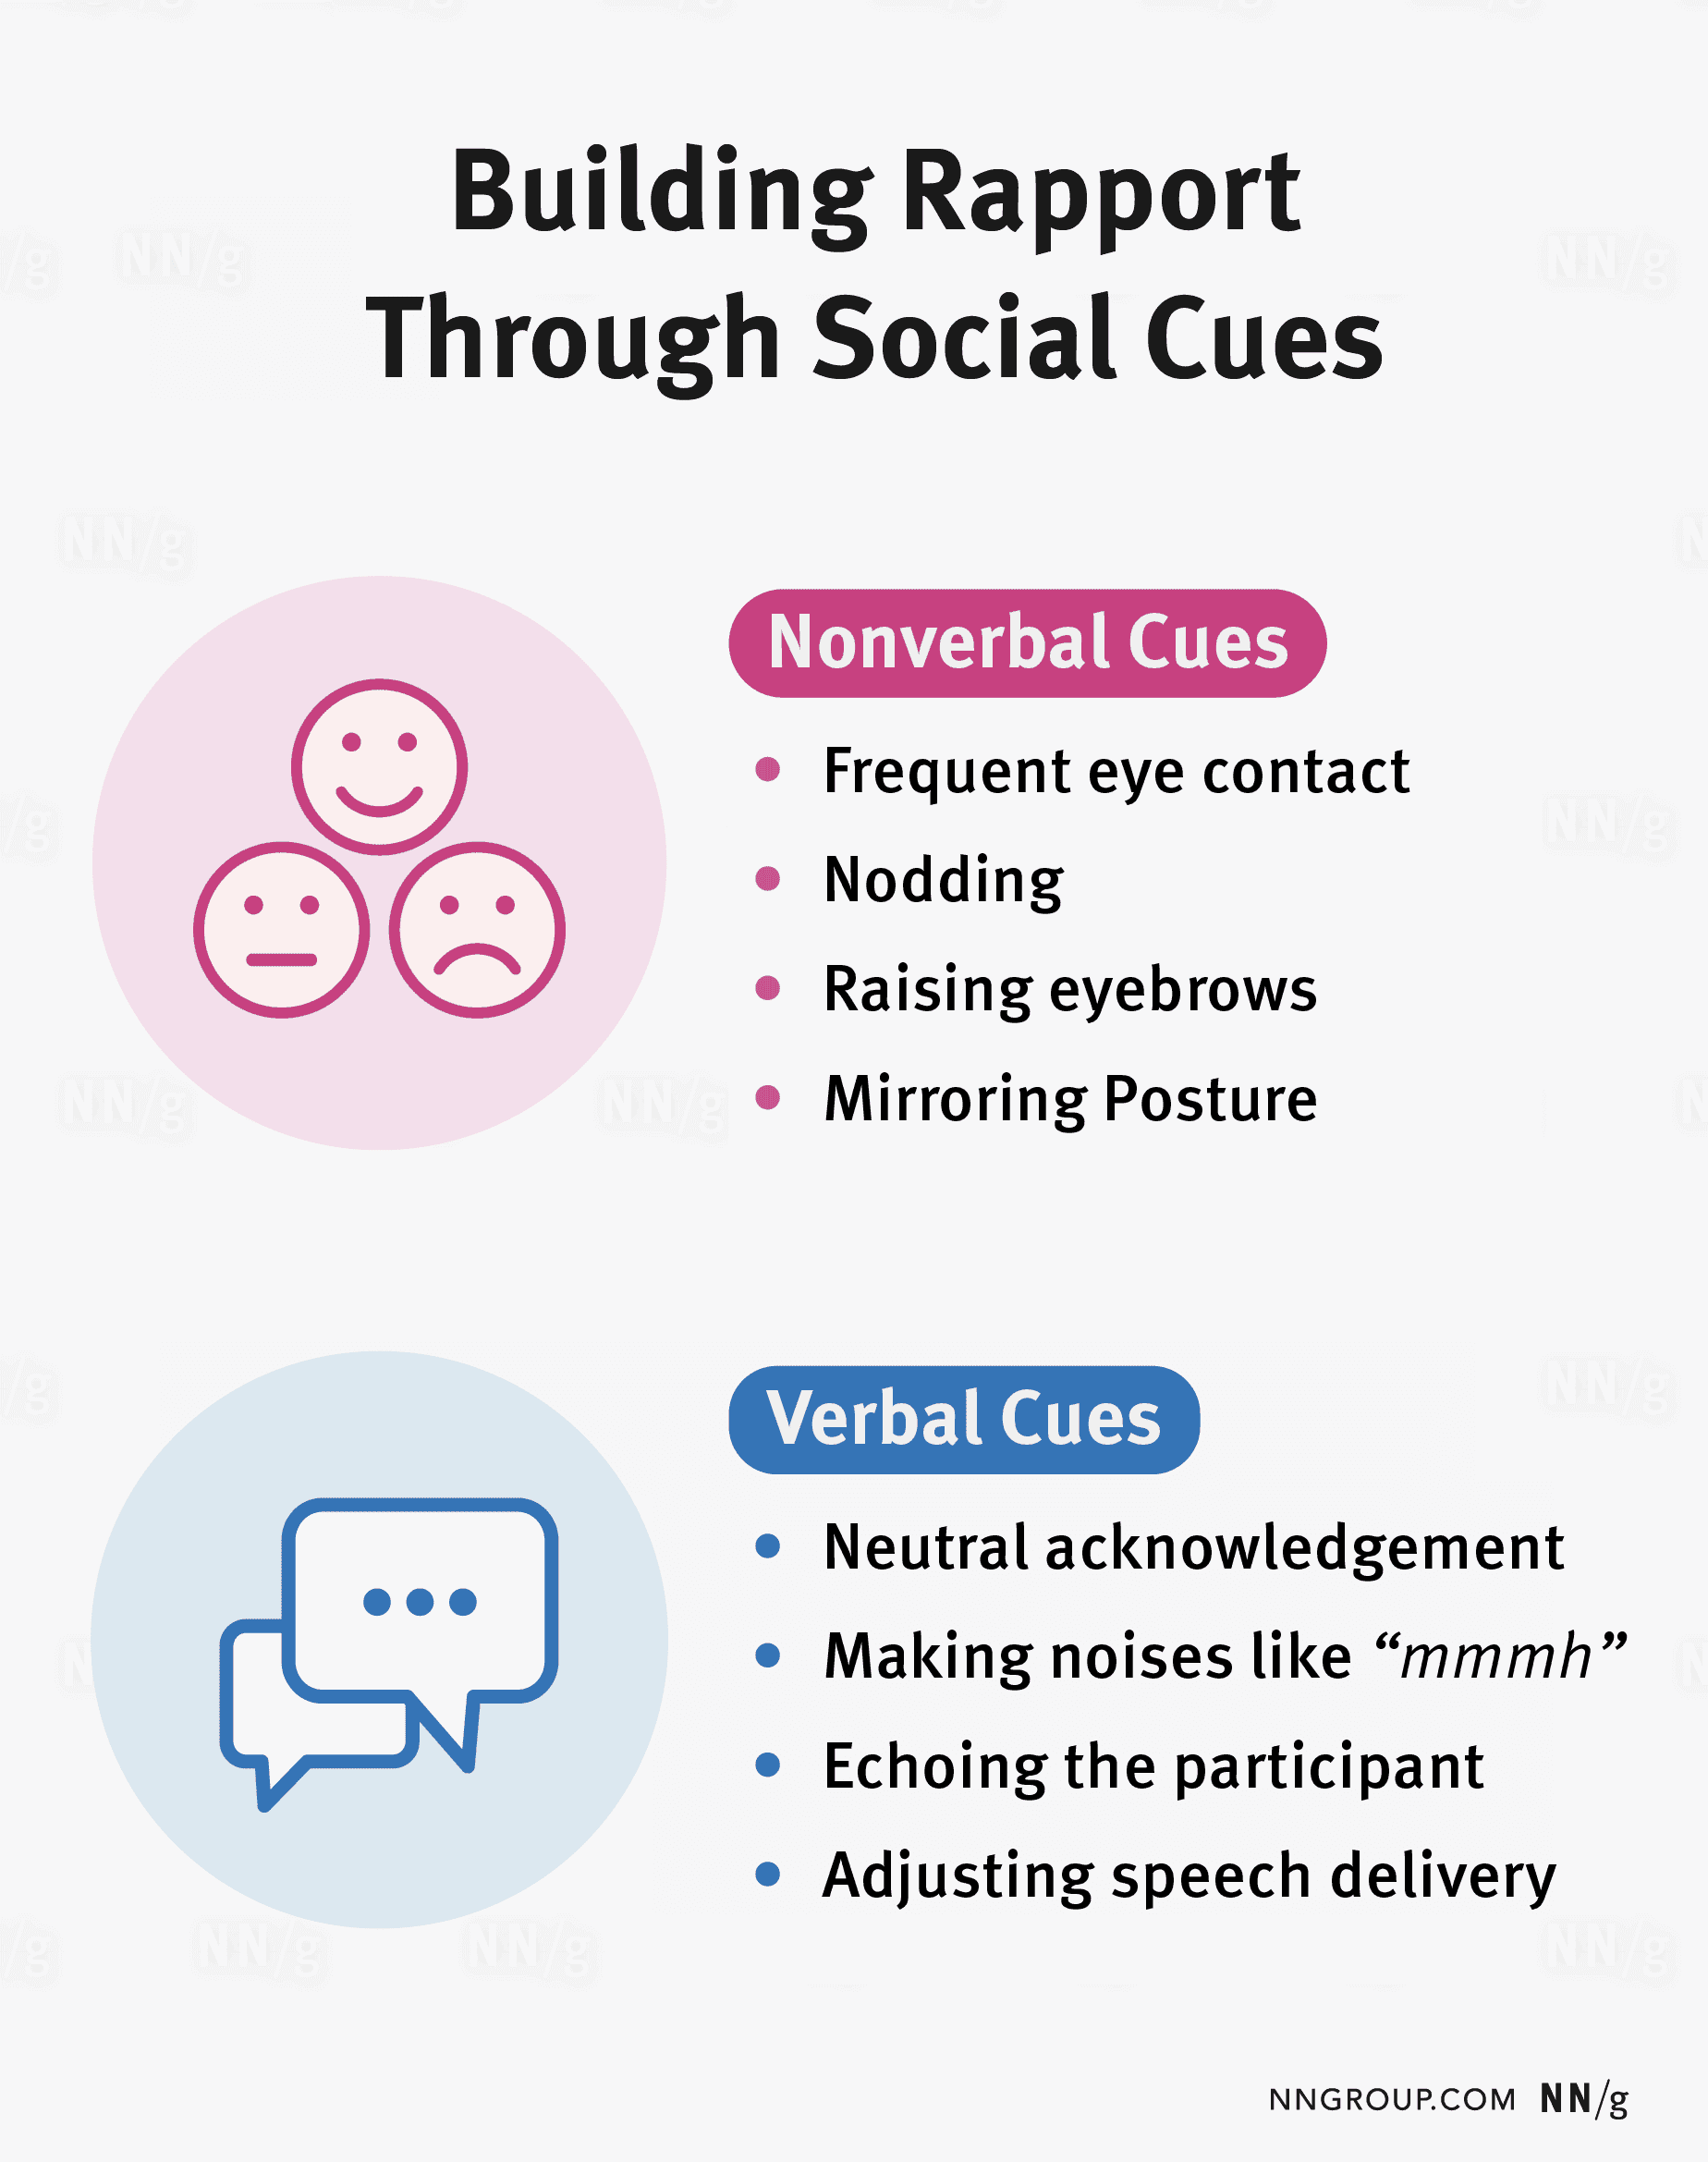
Verbal and nonverbal cues are used during an interview to build rapport with the participant.
2.2. Conduct the interview
As you use the critical incident technique (CIT) to build your interview guide, follow your script but remain flexible. Allow users to share their own insights freely.
When discussing an experience, it's often best to follow a chronological order, especially if the experience has distinct phases:
For example, in a purchasing experience: Discover ➝ Choose ➝ Purchase ➝ Use ➝ Review.
Similarly, when Mr. Chung interviewed our guest about their Product Management journey: Encounter (initial exposure to the field) ➝ Discover (learning more about it) ➝ Research (investigating and entering the field) ➝ Practice (working in the field and gaining product experience) ➝ Review (review and evaluate the work process).
💡 Follow a chronological order
Additionally, use probing questions to delve deeper into their responses, uncovering motivations, mental models, perceptions, and attitudes.
Suggest probing questions include:
"Can you tell me more about that?"
"Could you expand on that?"
"What are your thoughts on that?"
"How do you feel about that?"
"Why is that important to you?"
Or a few probing question we learnt from Mr. Chung:
"What would you do if you didn't receive the help in a certain phase?"
"What challenges do you think you would face if you haven't done such things?"
"What benefits do you think you would gain if you do such things?"
"If your were to re-do a certain phase in the project, what would you change?"
"Why would you change it like that?"
2.3. Wrapping up
Finally, debrief participants by thanking them for their time and inviting any follow-up questions about the project. Confirm their continued consent, as they now have a full understanding of the interview's context and can provide informed consent.
💡 Let participants know that a follow-up interview may be necessary and confirm their continued consent.
After the interview
Key Takeaways